Don’t Say R.I.P. to an Overexposed Photo
Case Study #2
Let’s Dim the Lights
If you’ve ever tried your hand at using the manual settings on a camera, you’ve probably overexposed an image at some point. Overexposure occurs when too much light hits the camera’s sensor, and typically results in a brighter than neutral, pale photo.
Thankfully, it’s easier to work with an overexposed image than an underexposed one, especially when using color negative film. In this case study, I’ll show you how I saved an overexposed 35mm film photo from sitting on my drive for eternity; unedited and completely washed out.
This picture was taken in one of the historic cemeteries we visited in Philadelphia, PA back in October 2022. I’m not one to shy away from watching the light fade in a cemetery, which made the entire process of correcting the overexposure here an absolute joy. Let’s dissect some of the editing techniques I used within Adobe Lightroom.
Darkening an Overexposed Image
Using the tools in Lr, I was able to tone down the original image and define it to appear more natural. I found that completely de-saturating yellows, blues, and greens in the Color Mixer panel helped to get rid of some of the haze. Removing those colors also allowed the gothic, haunting scene to come back to life.
Reducing the shadows and blacks more than solely working with the exposure setting is a great way to tone down the image’s brightness.
Slightly intensifying warmer tones allowed the photo to lighten. Because I removed the other color saturations listed above, enhancing the temperature allowed the remaining orange hues to stand out.
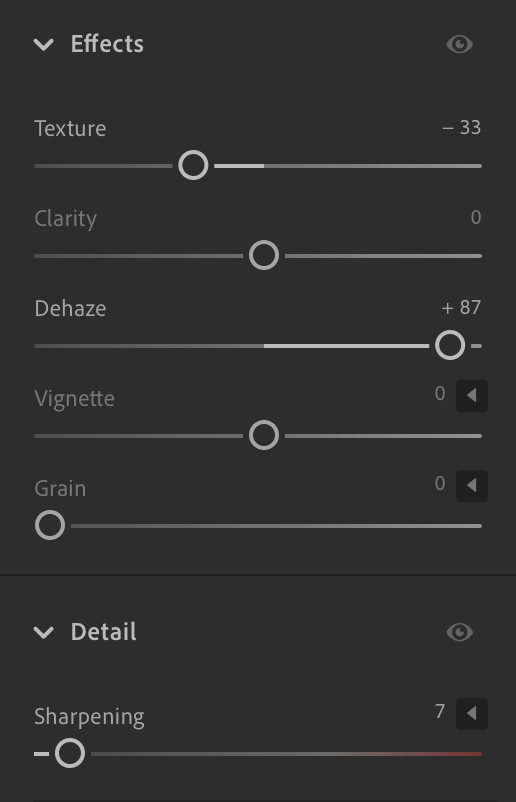
Reducing texture toned down the grain. Adjusting the dehaze slider removed other aspects of the lighter, hazier grain that were keeping the image seemingly overexposed and brighter than neutral.
The lightest tombstones, the focal points, needed a pinch of clarity and a dash of haze reduction. Creating a mask over them and minorly modifying those two settings shifted the depth. The clearer focal point overall makes the finished image appear easier on the eye.
The End Result
Balancing back the light gray tombstones against the dark shadows the gave me the same chills I first felt when I stepped onto those hallowed grounds. By toying around with Lr settings, I was able to breathe life into this picture and transport myself back to that eerie moment again.
I invite you to keep coming back here as I dive deeper down the rabbit hole of photography, editing, art, and whatever else catches my one good eye.


